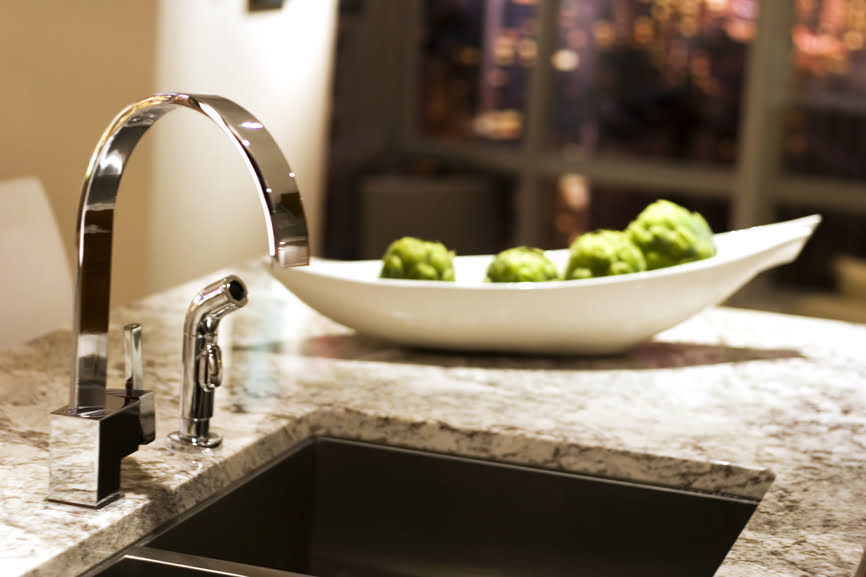
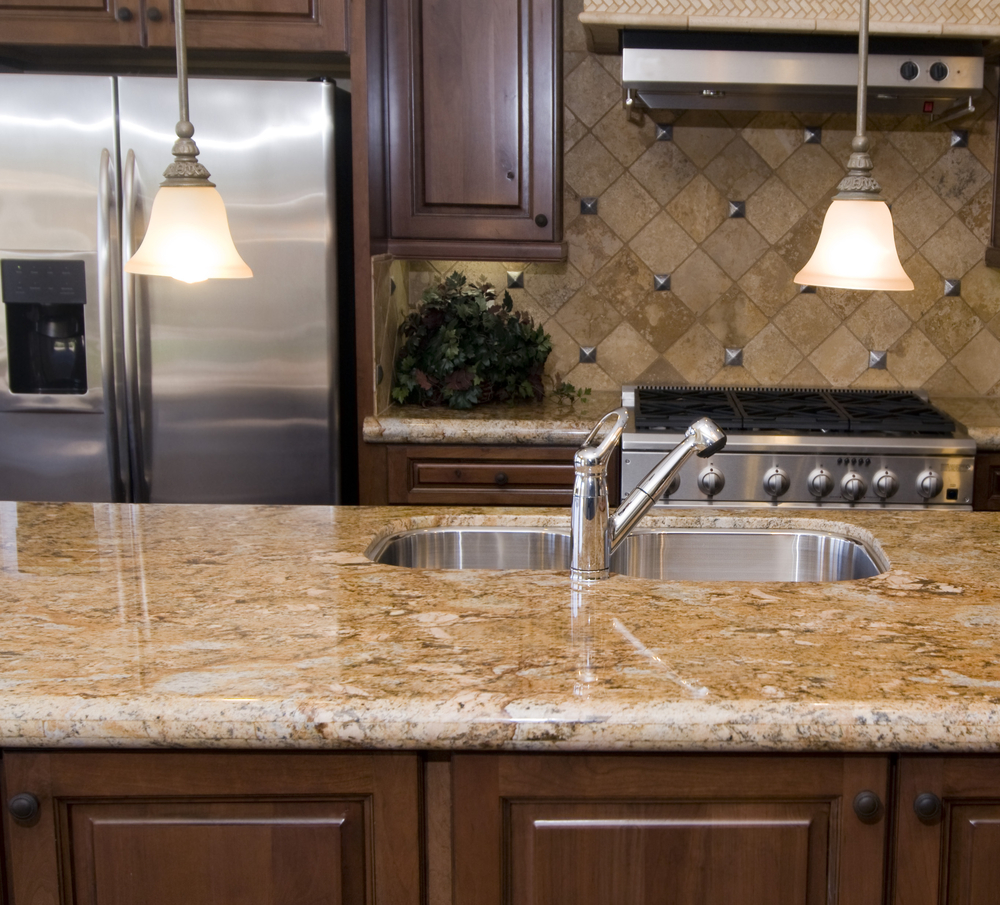
In part one of this two-part blog series, we went over some basics on determining the current quality of a granite surface’s seal and whether it should be re-sealed. Granite is a porous natural stone, meaning liquid can seep into it if it isn’t protected – but sealing is the primary form of protection that prevents this risk.
At Creative Granite & Design, we’re happy to help with a wide range of granite countertop needs and products, including assisting clients with understanding sealing needs for any granite surface. While part one of our series went over identifying whether a given granite countertop requires sealing, today’s part two will dig into some basic DIY granite sealing tips for if you decide to perform this task on your own.
Perform the Test
First and foremost, perform the granite water test we went over in part one of our series. This involves pouring water on the countertop area and tracking how long it takes to absorb, or whether it absorbs at all – the results will tell you how your seal is doing. If your test returns a result indicating you need to seal or re-seal the granite, move forward to the next step; if not, you can wait until next time.
Natural Stone Sealer Instructions
If you determine sealing is needed, we recommend finding a sealer made specifically for natural stone. There are several natural stone sealants out there – our pros will be happy to recommend specific products if needed.
Whichever product you choose, be sure to read instructions carefully. Some may have particular processes that, if not followed, may damage the granite surface.
Clean Countertops
Before sealing your countertops, you must clean them vigorously. Remove any and all debris that might get stuck between the seal and the granite, a result you absolutely do not want. Also ensure there are no spills or other moisture issues, as these will also create problems if they are sealed in.
Apply and Wipe Sealer
Take the sealer spray bottle and spray a solid, generous amount of sealer on the countertop, spreading it evenly across the surface. Let it absorb for about 20 minutes before returning.
At this point, you might have to apply a second coat of sealer – this depends on which you use, so again, read the directions. Once you’ve let your final coat dry, grab a clean cloth and wipe the sealer from the countertop.
Avoid Use
After sealing a granite countertop, you will need to wait a period of time to allow it to take effect. The most common length of time here is 48 hours, but this may vary between products – once again, read the instructions!
For more on how to seal granite countertops, or to learn about any of our granite, quartz, marble or other countertop materials, speak to the staff at Creative Granite & Design today.